 |
|
|
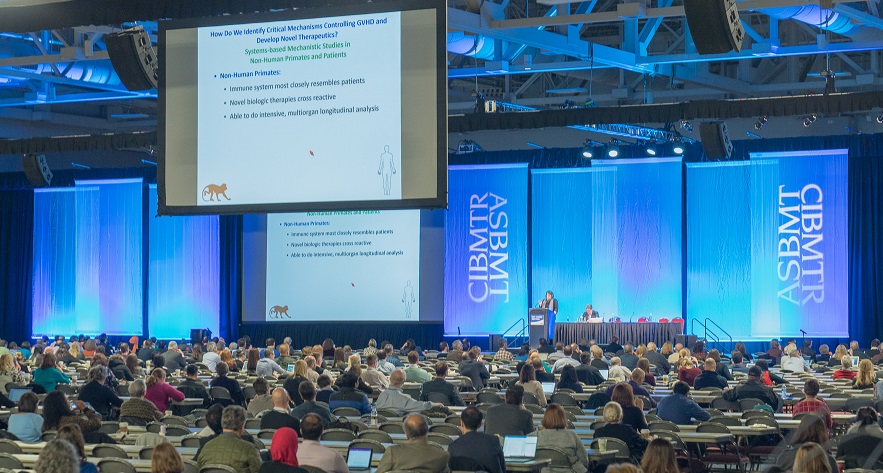
Welcome to the 2019 TCT | Transplantation & Cellular Therapy Meetings of ASBMT and CIBMTR (formerly the BMT Tandem Meetings) The TCT | Transplantation & Cellular Therapy Meetings of ASBMT and CIBMTR (TCT Meetings) are the combined annual meetings of the American Society for Blood and Marrow Transplantation (ASBMT) and the Center for International Blood & Marrow Transplant Research (CIBMTR). Investigators, clinicians, laboratory technicians, clinical research professionals, nurses, pharmacists, administrators, and allied health professional attendees benefit from a full scientific program that addresses the most timely issues in hematopoietic cell transplantation and cellular therapy.
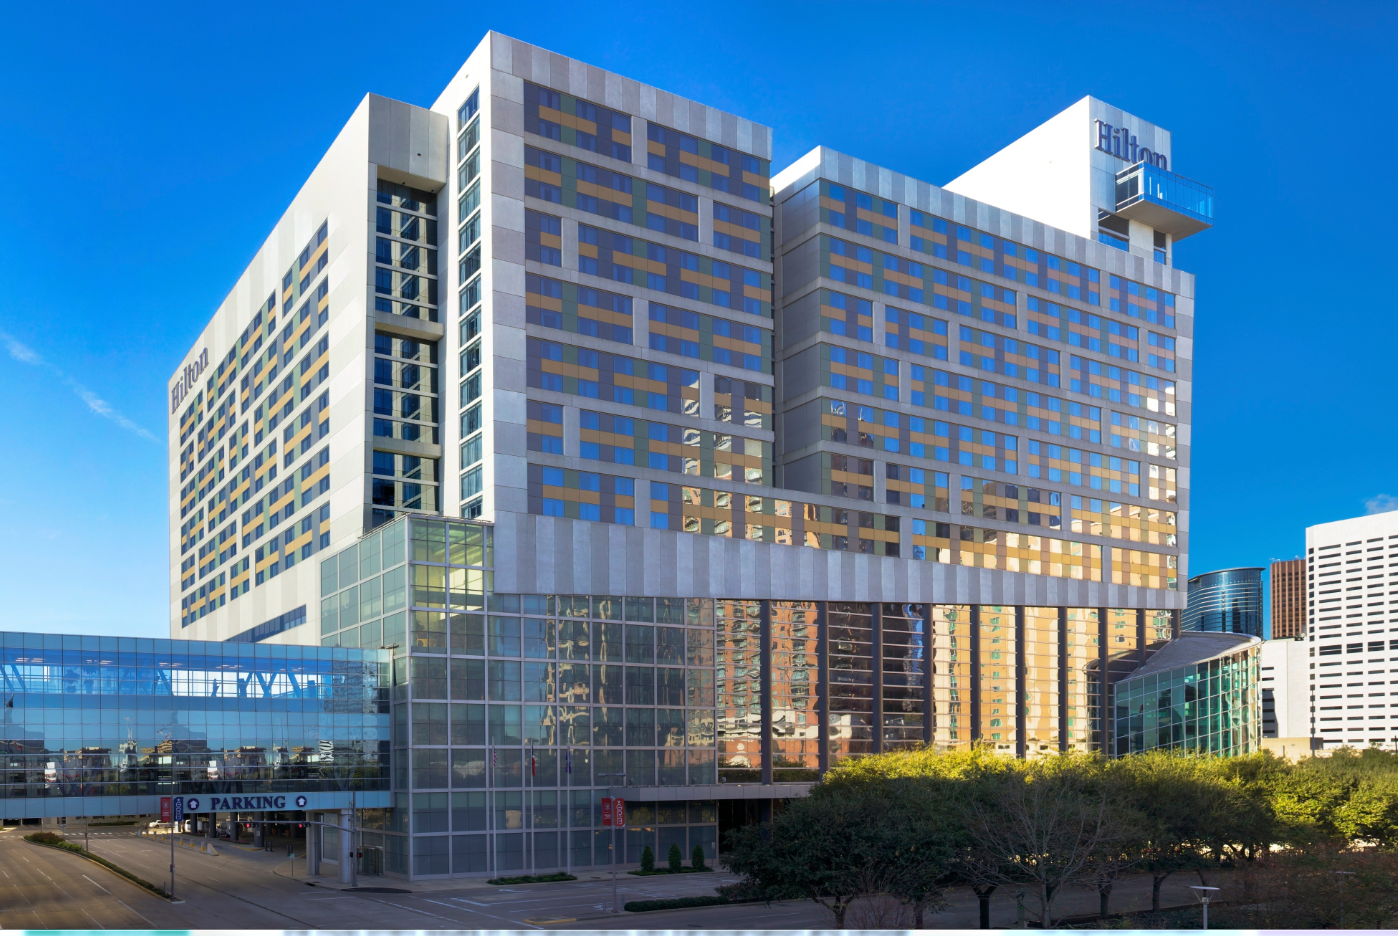
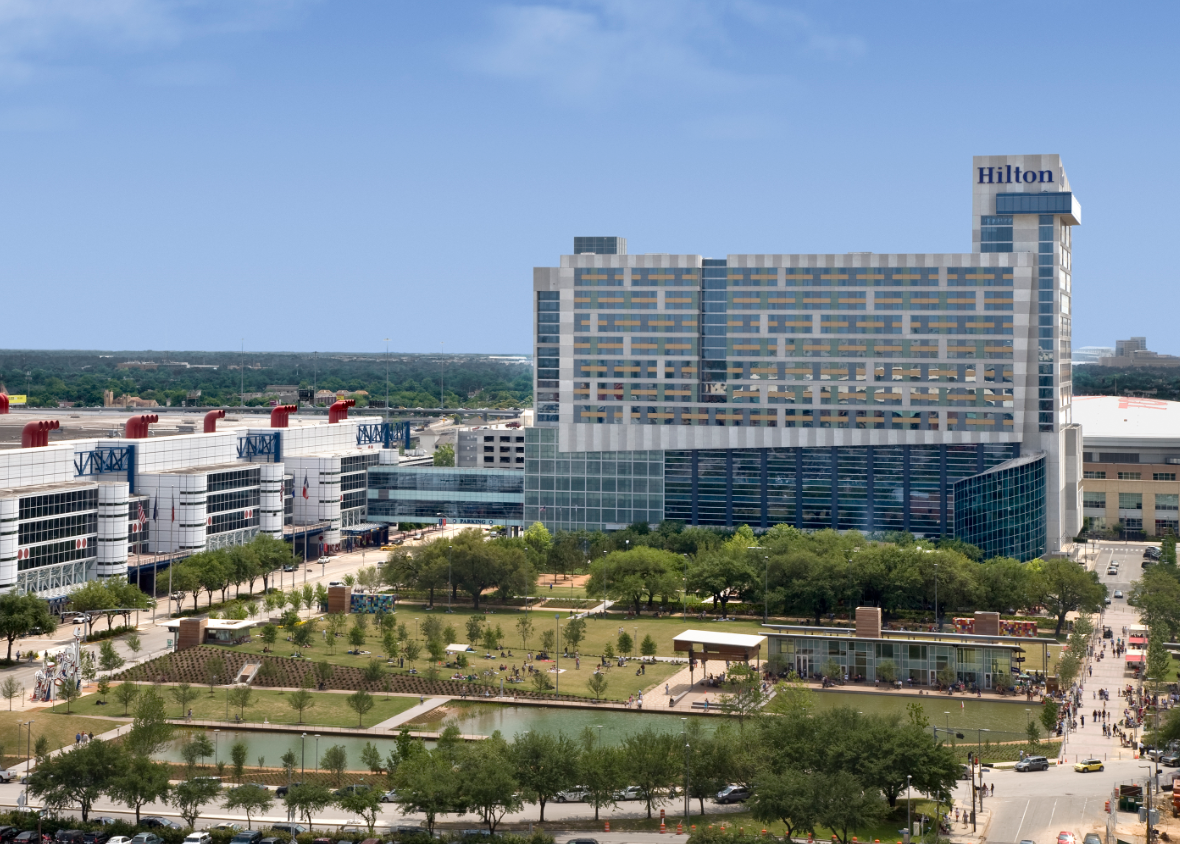
We hope you can join us at the Hilton Americas-Houston and George R. Brown Convention Center in Houston, Texas February 20-24, 2019! |
|
Help us spread the word!
The BMT Tandem Meetings are now called the TCT | Transplantation & Cellular Therapy Meetings of ASBMT and CIBMTR
to better reflect an expanded range of interests and activities.
#TCTM19 |
 |
The TCT® Trademark belongs to the Cardiovascular Research Foundation. ASTCT, CIBMTR, MCW, NMDP, the 2019, 2020, and 2021 Conferences and materials are NOT affiliated with or sponsored by the Cardiovascular Research Foundation.
| How May We Help You? | ||||
|
|
||||
|
|
||||

